Originally published 30 June 2021 - Updated 7 September 2026
Displaying a picture frame can breathe life into any blank space, but choosing the right hanging method can be a tricky task. Get it wrong and you risk permanently damaging your walls and paint - an expensive mistake to fix. Below, we break down four hanging methods, how to pick the right one for your wall and frame, and the ideal height to hang at.
What Height Should I Hang a Picture Frame At?
As a general rule, hang the centre of your frame at eye level - around 145–150 cm (57–58 inches) from the floor. This is the standard used in galleries and museums, and it works for most rooms and most people's average eye height.
A few adjustments to keep in mind:
- Above furniture (sofa, bed, sideboard): Leave at least 15cm (6 inches) between the top of the furniture and the bottom of the frame.
- Gallery walls or groupings: Treat the whole grouping as one shape and centre that at eye level, rather than centring each individual frame.
- Not sure of your wall type? Press a pin into an inconspicuous spot. If it slides in easily, you likely have drywall (plasterboard); if it meets firm resistance, you likely have plaster or masonry. Your wall type affects which hanging method will work best.
Tip: Before you drill anything, trace your frame onto a sheet of paper, cut it out, and tape it to the wall. This lets you preview the position (and adjust it) without leaving a single hole.
1. Gallery Hanging Method
The art gallery hanging method is an elegant system often used in museums and exhibitions. There are three main components:
- A wall-mounted track
- Cable hangers and track sliders
- Hooks to support your picture frame and grip the cable
A discreet track is installed against the ceiling or a cornice, which the cables and track sliders easily attach to. Once you've found the right position and height, attach hooks that grip the frame and cable - then step back and admire your perfectly placed picture frame.
This method is great if you like to change up your art and experiment with different positions. It has a slightly longer installation process, but it's affordable, reusable, and leaves no ongoing wall damage as you rearrange.
Learn more about our specially designed gallery hanging system here.
2. Stud Hanging Method
When hanging a heavier frame, it's best to anchor it to a stud within the wall. Studs are the timber beams that stabilise your walls and can support heavier objects, such as a large picture frame or a TV mount.
Finding the stud: An electronic stud finder will locate studs quickly within drywall, but is less accurate on plaster. To find one manually, tap the wall with your knuckles or a light hammer - a low, hollow sound usually means no stud; a solid, higher-pitched tone usually means you've found one.
Most Australian homes have timber studs, but some (particularly newer builds) use steel, which needs different fasteners. Run a magnet along the wall - a strong pull suggests steel framing underneath.
Hanging hardware: Once you've located the stud and marked your spot, we recommend two frame hanging hooks spaced roughly 20–25cm apart for anything larger than a standard A3 frame. This distributes weight evenly and reduces the chance of the frame tilting. Smaller, lighter frames can generally use a single hook. Read more in our guide on how to properly hang picture frames.
Stud hanging is reliable for heavy frames, but it does mean the stud needs to be in the right position for your layout, and you'll need to patch the hole later if you ever move the piece.
3. Drywall Plugs and Anchors
If you're hanging on plasterboard or drywall without a stud nearby, drywall plugs are a solid alternative. They bite into the wall material, creating a sturdy point for a screw to hold your frame securely.
There's a range of plugs and anchors depending on your needs. Expansion anchors (wall plugs) enlarge inside the wall as the screw is driven in; threaded anchors use large threads to bite directly into the wall for a strong hold. These suit most standard-sized picture frames. For anything heavier or larger, step up to a more robust anchor rated for the extra weight.
What you'll need:
- A hammer
- A power drill and drill bit set
- Your preferred drywall plug or anchor
Drill a hole matching the size of the plug or anchor tip, then drive it in with a hammer or drill until it sits flush with the wall. Insert the screw until snug. If you're hanging on brick or concrete, you'll need a masonry bit and masonry-rated anchors - a different process worth getting right before you start.
This method works well where there's no stud or hanging system to rely on, though the anchors can be harder to remove later and leave a slightly larger hole. Consider your placement carefully before installing.
4. Command Hanging Hooks
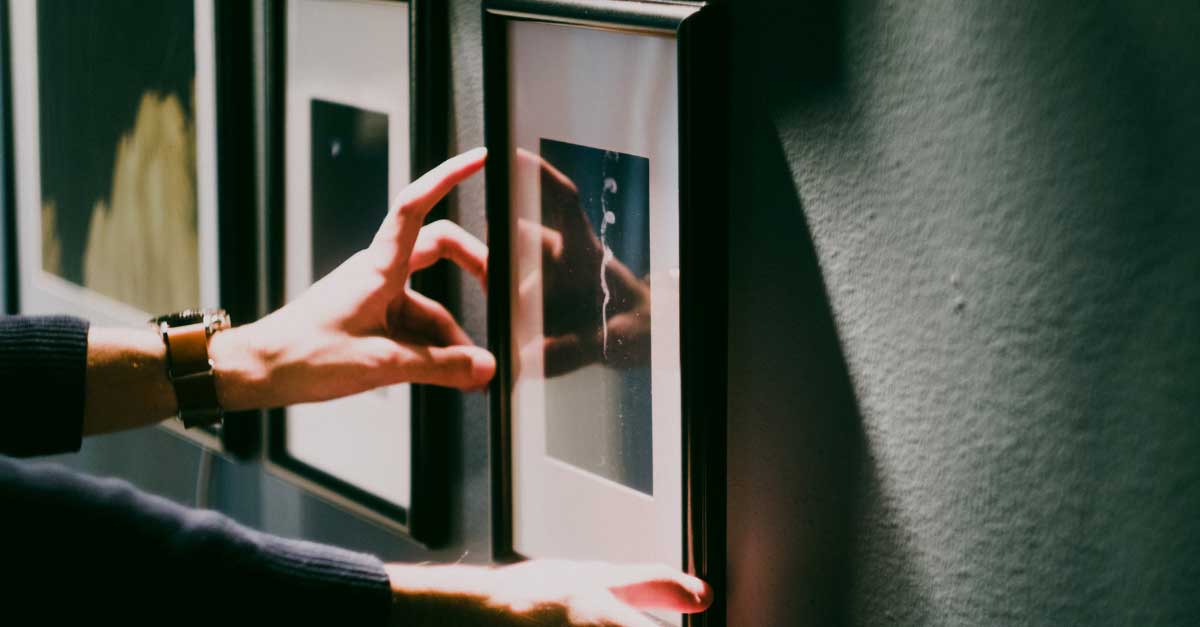
Command picture hanging hooks or strips attach to your wall with an adhesive backing - no drilling required. Available in a range of hook sizes and Velcro-style strips, this method suits renters or anyone who can't put holes in the wall, though it comes with some trade-offs.
Adhesive strips aren't as reliable for heavier frames and can lose their grip over time, increasing the risk of a frame falling and being damaged. Weigh up the size, weight, and value of your picture frames before choosing this method, and check the manufacturer's stated weight limit before you commit to it.
Get Expert Help In-Store
Hanging your picture frames with minimal fuss and no wall damage is achievable with the right method and tools. If you're still not sure which option suits your frame, Frame Today can help with expert picture hanging advice. Contact our qualified in store consultants at your nearest store.