Updated 12 December 2024
Mat boards serve two very important functions in the picture and photo framing process. The first is in acting as a barrier between artwork and the frame glazing, preventing moisture from building up and damaging the piece. With the use of acid-free mats and backing board, the artwork is also protected against foxing (yellowing of the paper).
The second purpose of the matboard is decorative since it is a simple way to make your work stand out. When done right, a well-placed matboard acts as a border for the artwork and draws the attention of the room towards what is displayed within the frame. The colour and texture of the matboard can complement or contrast with the artwork, enhancing its visual impact. Matboards can also be used to balance the composition of the framed artwork, especially when dealing with small or asymmetrical pieces.
While most mat boards are traditionally pre-fitted in ready-made frames or during the custom framing process, individual components can be sold separately from art supply stores for hobbyists to cut to their own boarders.
What you will need
If you have purchased a matboard on its own there are a few things to be aware of. With some time and patience, you can learn how to properly size, cut and install a matboard yourself.
Cutting a mat board for a picture frame starts with the right set of tools. These include:
- Mat board – either museum, conservation white core or designer (we recommend against using regular cardboard because it does not have the necessary protective properties)
- Precision cutting knife or box cutter – with extra blades
- Metal ruler
- Mat board cutter
- Pencil
Note: Although it is possible to cut your own mats with the tools above, and we'll guide you below, it is important to point out that most framers have some form of bench cutter, such as a Fletcher mat cutter, or a computerised mat cutter as used in our Frame Today stores which ensure zero overcuts and no ugly burring.
How to cut a mat board for framing
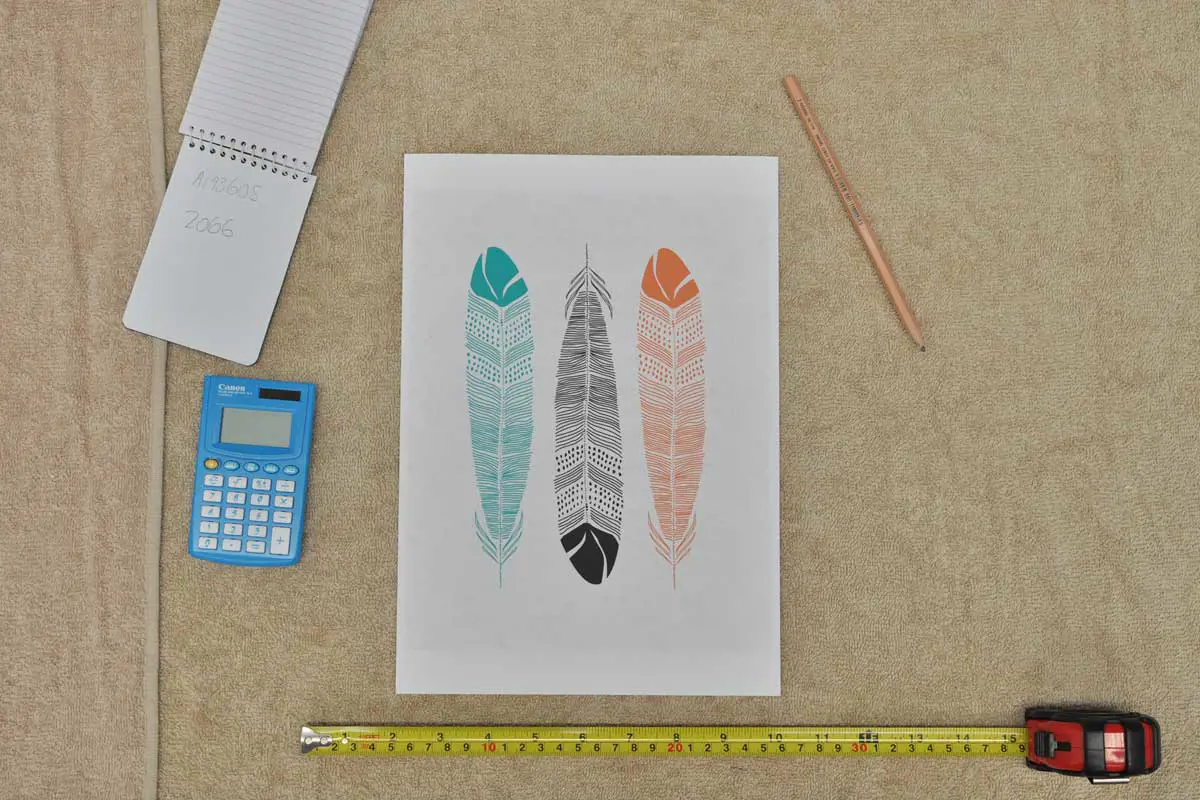
The first part of the process is to measure a matboard and prepare it for cutting.
1. Consider the size of the artwork
Mark the mat board to the size of your picture frame. For best results, use the existing backing board to get close to the right dimensions. Always mark and cut from the back of the mat to prevent any visible marks on the finished side.
2. Measure and mark the sides
If possible, centre the artwork on the mat board and measure the surrounding space. The final image will sit between the front and backing boards, viewable through a window opening at the front. While the mat will usually overlap the artwork, make sure it does not obscure from view important objects within the image.
Our Framing consultants call on their extensive experience when determining the width of the boarder, but as a starting point we suggest taking the difference in length and dividing this by two to determine the size of the border for a uniform measurement i.e. 28cm mat board - 14cm artwork / 2 = 7cm borders on each side.
3. Measure and mark the top and bottom
Apply the same process as the previous step to the top and bottom of the mat. You may want to add some extra room to the bottom of the mat, aka weighting the bottom. This is an effect often used by professional picture framers.
Now comes the fun part! For this, you will need a metal ruler to align and cut through the mat board.
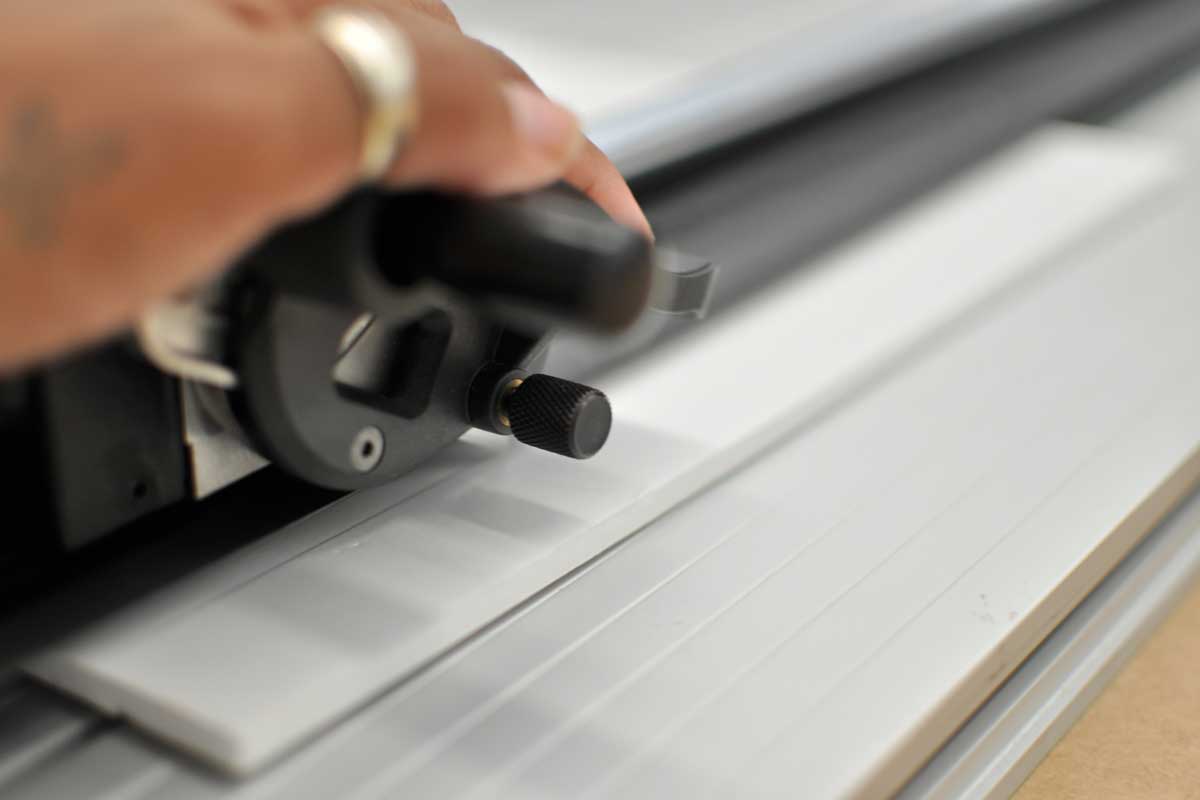
4. Cut the outside edges
Hold the ruler firmly to the board while cutting. Don’t worry if your edges are not perfectly straight. You usually have up to 4mm to play with since the edges will be hidden by the rebate of the frame. Be very careful when handling sharp blades to avoid any accidents. If using a mat board cutter, place the board under the guide rail with the outside hanging out. Trim the excess using the precision knife or box cutter and metal ruler.
5. Cut the window frame
Once again, hold the ruler firmly on the board. Start at the top corner of the mat and make several small notches, giving you a guide to follow. Slowly cut the mat in a downward motion and repeat across all three sides of the mat. We recommend cutting the window frame (the inner area of the second mat) at least 1 cm smaller than the picture itself so there is overlap to hold it in place.
To achieve a clean contrasting bevelled cut you see in professionally cut mats, see your local framer. They use a computerised mat cutter or bench cutter, which allows them to cut a 45-degree bevel with millimetre precision and no overcuts.
All that’s left is to set the finished mat into your frame and you’re done!
Need Help?
Cutting a mat board for framing can be a fun DIY way to personalise your picture frames. But if you would like a professional to take care of all the hard work, why don’t you visit one of our picture framing locations near you and speak to one of our instore framing consultants.
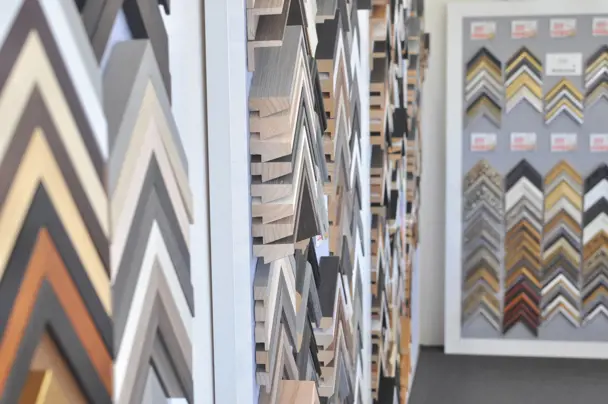
Our team will show you through our extensive mat board range, featuring over 150+ colours in premium and high-quality options. All Frame Today stores are equipped with a computerised mat board cutter, allowing us to offer custom mat board designs at the push of a button. If possible, bring your work in for a professional evaluation and quote.