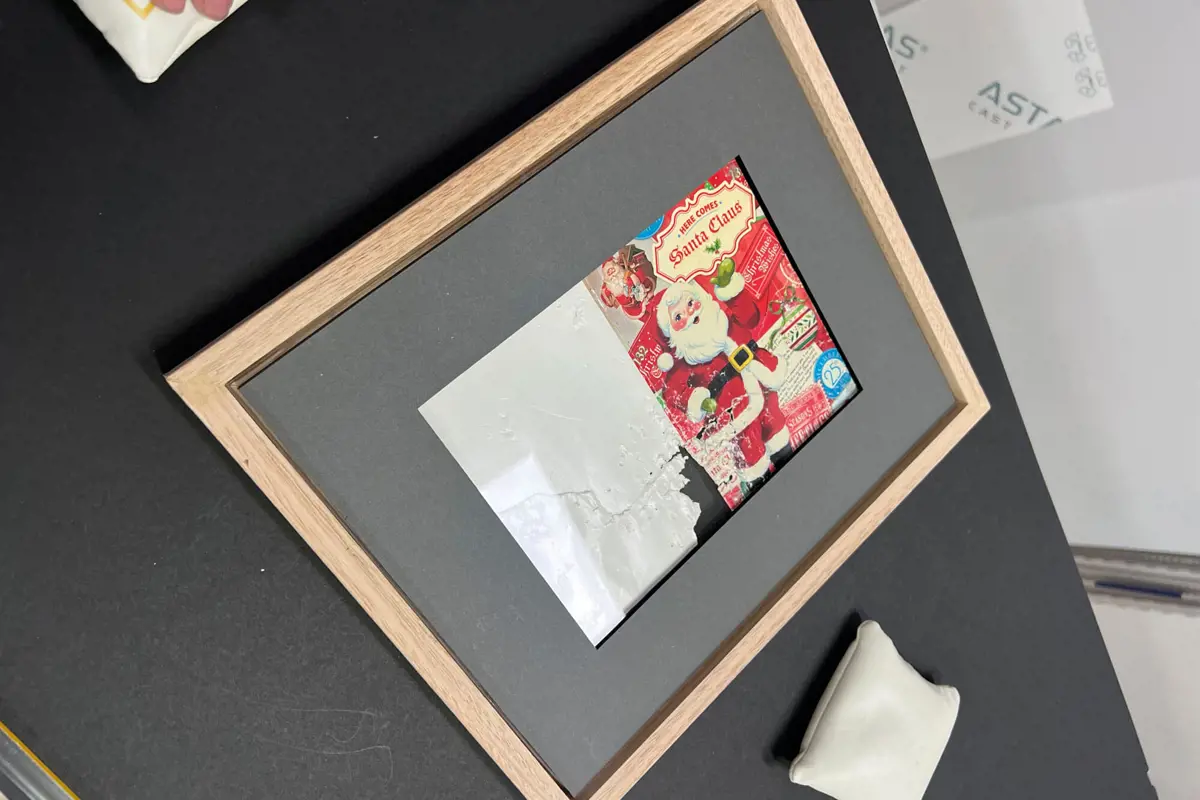
Are you looking to preserve a cherished memory but face a unique challenge? At our Castle Hill store, we love a good challenge, just like the one presented to our talented team. Picture this; a sentimental Christmas card, beloved for its heartfelt message and cherished memories, torn apart by an unexpected culprit - the family dog. But fear not, because where there's a will, there's a way, and we were determined to find a solution that would restore this precious memento to its former glory.
So, how did we work our magic? Let's dive into the intricate process step by step.
1. Seamlessly Hinging Hidden Tape: Even before the framing began, there were some minor repairs we applied to the damaged card with the customers consent. Tiny tape squares were used to secure each piece of the card. This meticulous process was required because we needed seamless hinging so no tape was visible from either side of the frame (more on that later).
2. Crafting the Perfect Depth: The first hurdle was ensuring that both sides of the card could be displayed seamlessly within the frame. To achieve this, we combined clear glass and perspex, meticulously adjusting them to obtain the perfect depth. This allowed the spacer to sit flush with the back of the frame, ensuring a seamless display of the card.
3. Protecting with Precision: With the depth issue solved, attention turned to protecting the delicate artwork during the framing process. A template matboard was precisely cut on our computerised mat cutter, slightly smaller than the card, creating a tiny gap around the edges. This gap allowed for the application of a clear sealant, safeguarding the acrylic from any potential dirt or mess during the drying process, which spanned over 5 hours.

4. Finishing Touches: Once the sealant had dried, it was time for the meticulous finishing touches. The matboard was carefully removed, revealing the beautifully preserved card within. Any excess sealant along the edges was tidied up using a precision blade, ensuring a flawless presentation.

5. Bringing It All Together: With the delicate restoration complete, attention turned to the frame itself. A natural finish oak coloured frame was selected that complemented the artwork beautifully. Instead of taping the back of the frame as we usually do, woodfill was carefully applied over the staples on the back of the frame then meticulously sanded to create a smooth finish. This was done so the card could be viewed from the front and back of the frame.
But the journey didn't end there. To add versatility to the display, a black stand back was added, allowing the framed card to be proudly showcased on a table with the front and back visable, serving as a constant reminder of this cherished memory.
|
|


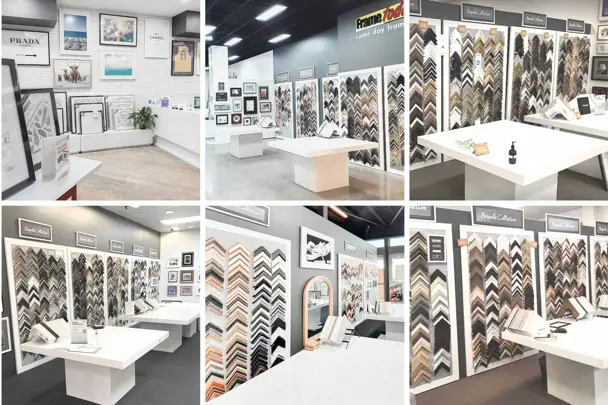
Are you facing a similar challenge with preserving your precious memories? Look no further than our Castle Hill store, where our team of expert PFA qualified framers are ready to tackle even the most unique of projects. With 13 stores across NSW and Brisbane, we're here to help you display and preserve your treasured memories for years to come.