DIY Jewellery Box
In a world filled with fast-paced living and digital memories, there's something timeless about preserving cherished moments in physical form. We invite you to embark on a creative journey that not only celebrates memories but also serves a practical purpose.
In this step-by-step guide, we will show you how to transform an old picture frame into a stunning DIY jewellery holder, DIY jewellery box or DIY Jewellery stand to create a unique and personalised masterpiece that adds charm to your space while keeping your precious accessories organised.
Materials Needed:
- Old picture frame
- Sandpaper
- Primer
- Paint in your desired colour
- Small paintbrushes
- Screw-in hooks or knobs
- Craft glue
- Soft fabric or felt
- Hammer
- Nails
- Picture wire or string
- Clear sealant spray (optional)
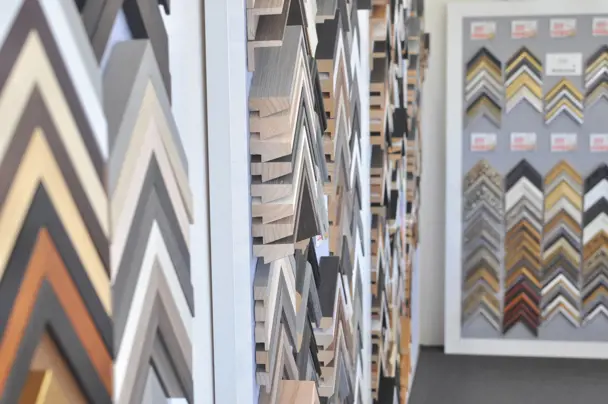
Step 1: Selecting the Perfect Frame
Begin your journey by choosing an old picture frame with a design that resonates with you. Whether it's a vintage find, a sentimental frame from a special occasion or a forgotten gem tucked away in your attic, make sure it has enough depth to accommodate the jewellery you wish to hang.
Step 2: Preparing the Frame Jewellery Box
Start by removing any existing artwork or glass from the frame. Use sandpaper to smooth out any rough edges or imperfections. This step ensures a clean canvas for your DIY jewellery holder.
Step 3: Applying Primer and Paint
Once the frame is smooth, apply a layer of primer evenly across the surface. This step not only provides a base for the paint but also helps it adhere better. Once the primer is dry, choose a paint colour that complements your decor or adds a pop of personality. Use small paintbrushes to achieve a clean and precise finish.
Step 4: Adding Hooks or Knobs
Determine the layout for your jewellery holder by deciding where you want your hooks or knobs to be. Consider the type of jewellery you own and how you'd like to display it. Screw-in hooks or knobs work well for necklaces, bracelets and rings. Attach them securely to the frame using a screwdriver or drill.
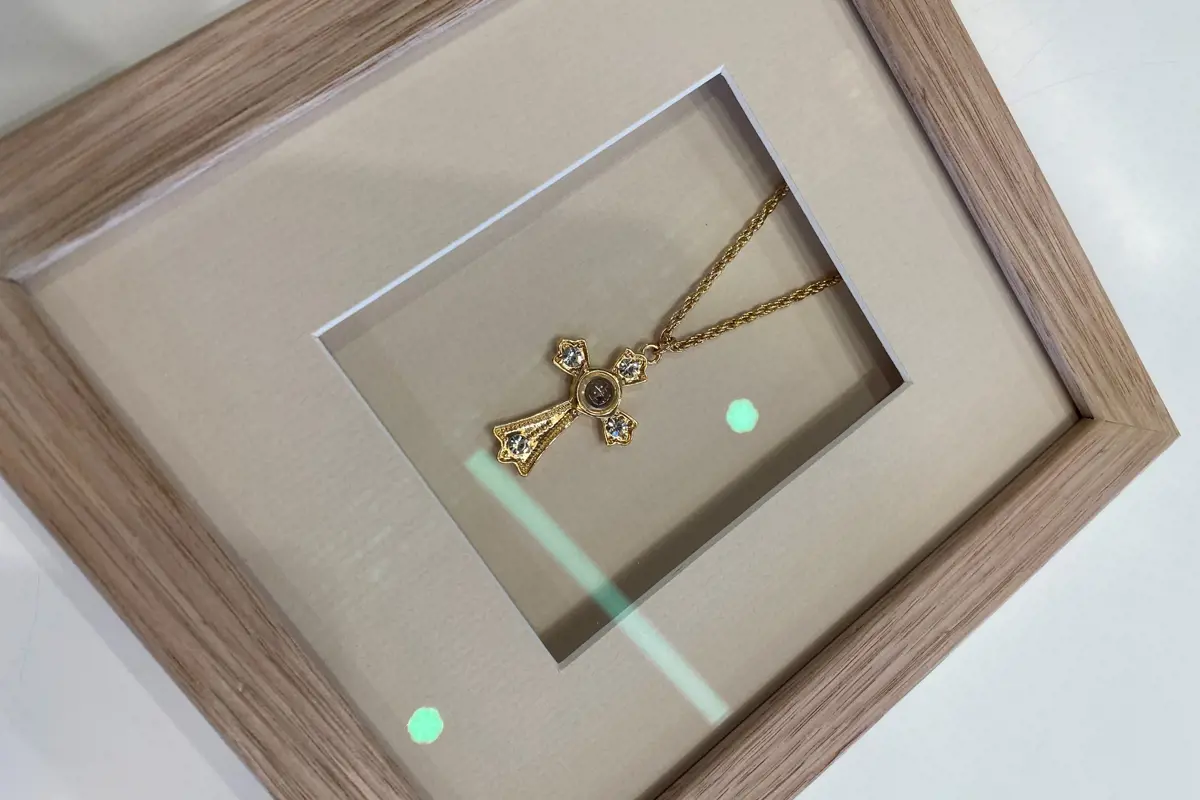
Step 5: Creating Earring Displays
For earrings, you can get creative by adding rows of small nails along the bottom edge of the frame. Hammer the nails in at regular intervals, leaving enough space between each one to hang your earrings. Alternatively, you can attach small wire mesh or fabric to create a charming earring display.
Step 6: Adding a Fabric Backing
To add a touch of luxury and protect your jewellery, glue a soft fabric or felt onto the back of the frame. This not only enhances the aesthetic appeal but also prevents scratches and damage to your accessories. Alternatively, you can use a designer suede matboard.
Step 7: Hanging the Jewellery Holder
If your frame doesn't have a built-in hanger, attach picture wire or string to the back so it's ready to hang on your wall. Ensure that it's securely fastened to support the weight of your jewellery collection. You don’t want a nasty surprise or financial damage resulting from a fallen frame!
Step 8: Optional Sealant for Weatherproofing
If you plan to hang your jewellery holder in a bathroom (not that we would recommend this) or an area prone to moisture, consider spraying a clear sealant over the painted surface. This extra step adds a protective layer and ensures the longevity of your DIY creation.

Congratulations! You've successfully transformed an old picture frame into a functional and personalised jewellery frame organiser. This creative endeavour not only allows you to showcase your crafting skills but also serves as a beautiful reminder of the cherished moments you are passionate about preserving. Embrace the journey of transforming memories into tangible art and let your DIY jewellery holder become a unique expression of your style and sentimentality.
For professional help with your frame jewellery holder, visit any of our picture framing stores.